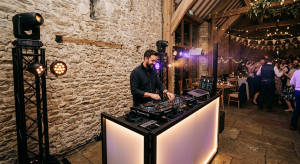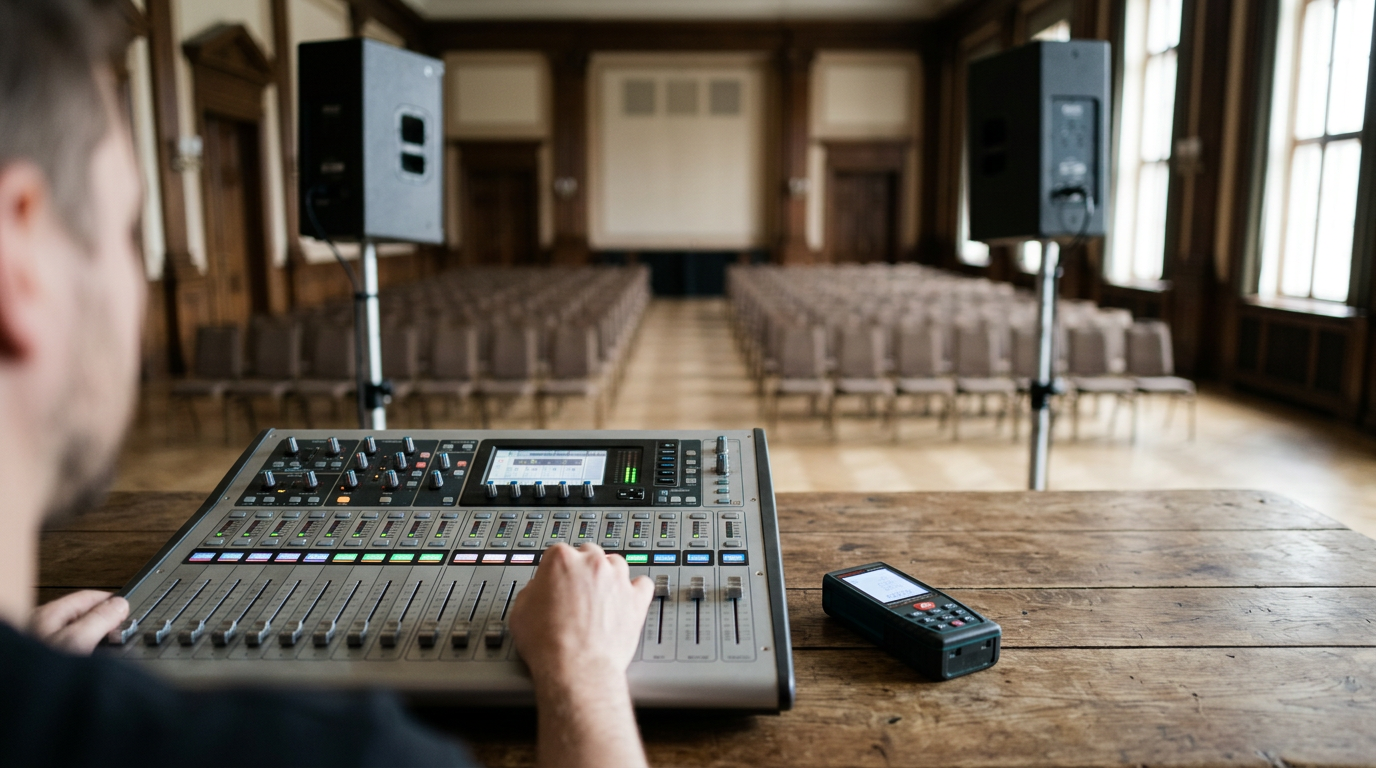
Most couples believe a full dance floor is entirely down to track selection, but acoustic fatigue will empty a room faster than a bad song. When the high frequencies are piercing and the bass is muddy, guests physically step away from the speakers, retreating to the bar or the edges of the room long before they consciously decide they dislike the music. Building a professional wedding dj setup is an engineering exercise first and a musical one second. It requires managing gain structures, understanding room acoustics, and building redundancy into every point of failure.
Quick Summary
A professional audio configuration relies on system headroom rather than raw volume to deliver clean, non-fatiguing sound throughout an event. Achieving this requires mapping the acoustic environment, strictly managing the signal chain, and properly loading low-frequency enclosures.
- Map the room’s acoustic profile before placing speakers to avoid harsh reflections.
- Maintain strict gain staging to prevent digital clipping and audio distortion.
- Group subwoofers together to eliminate bass nulls and phase cancellation.
- Segregate audio power supplies from catering equipment to prevent voltage drops.
- Build hardware redundancy that bypasses the primary controller entirely.
Table of Contents
- Why acoustic headroom dictates your speaker configuration
- 1. Map the room’s acoustic profile before specifying the PA
- 2. Configure the signal chain for clean audio delivery
- 3. Position the subwoofers to eliminate bass nulls
- 4. Implement a robust power distribution plan
- 5. Build redundancy into the playback system
- Common Pitfalls & Troubleshooting
- FAQ
- Recommended Reads
Why acoustic headroom dictates your speaker configuration
Headroom is the difference between the average operating level of an audio system and the maximum level it can handle without clipping. A system pushed to its absolute limit will sound harsh and aggressive, even at a moderate volume. Professional technical planning focuses on bringing more PA capacity than the room strictly requires, allowing the amplifiers to operate comfortably in their optimal range. This approach delivers the warm, enveloping sound necessary for the technical requirements behind a reliable wedding DJ setup, preventing ear fatigue over a four-hour reception.
1. Map the room’s acoustic profile before specifying the PA
Every venue interacts with sound differently, and the physical environment dictates how the public address (PA) system must be configured. A traditional stone-walled Aberdeenshire castle presents a highly reflective acoustic environment, causing mid-to-high frequencies to bounce aggressively off hard surfaces. This creates a reverberant wash that destroys speech intelligibility during announcements and makes modern electronic music sound chaotic. Conversely, a canvas marquee absorbs high frequencies but offers zero containment for sub-bass, requiring significantly more low-end power to maintain impact on the dance floor.
The mechanics of this involve the dispersion angle of the high-frequency drivers. Professional active tops typically feature horns with a specific throw pattern, such as 90 degrees horizontally and 60 degrees vertically. By mapping the room, a technician angles these speakers downward, pointing them directly at the absorptive bodies of the guests on the dance floor, rather than allowing the sound waves to strike the back wall and bounce back out of phase.
The mistake people actually make here is bringing a generic, one-size-fits-all speaker configuration and simply turning the master volume up to compensate for poor intelligibility. In highly reverberant spaces, adding volume only excites the room further, turning a muddy sound into a louder muddy sound. The solution is always proper speaker placement, downward tilting, and applying corrective equalisation to pull out the specific frequencies the room is amplifying.
2. Configure the signal chain for clean audio delivery
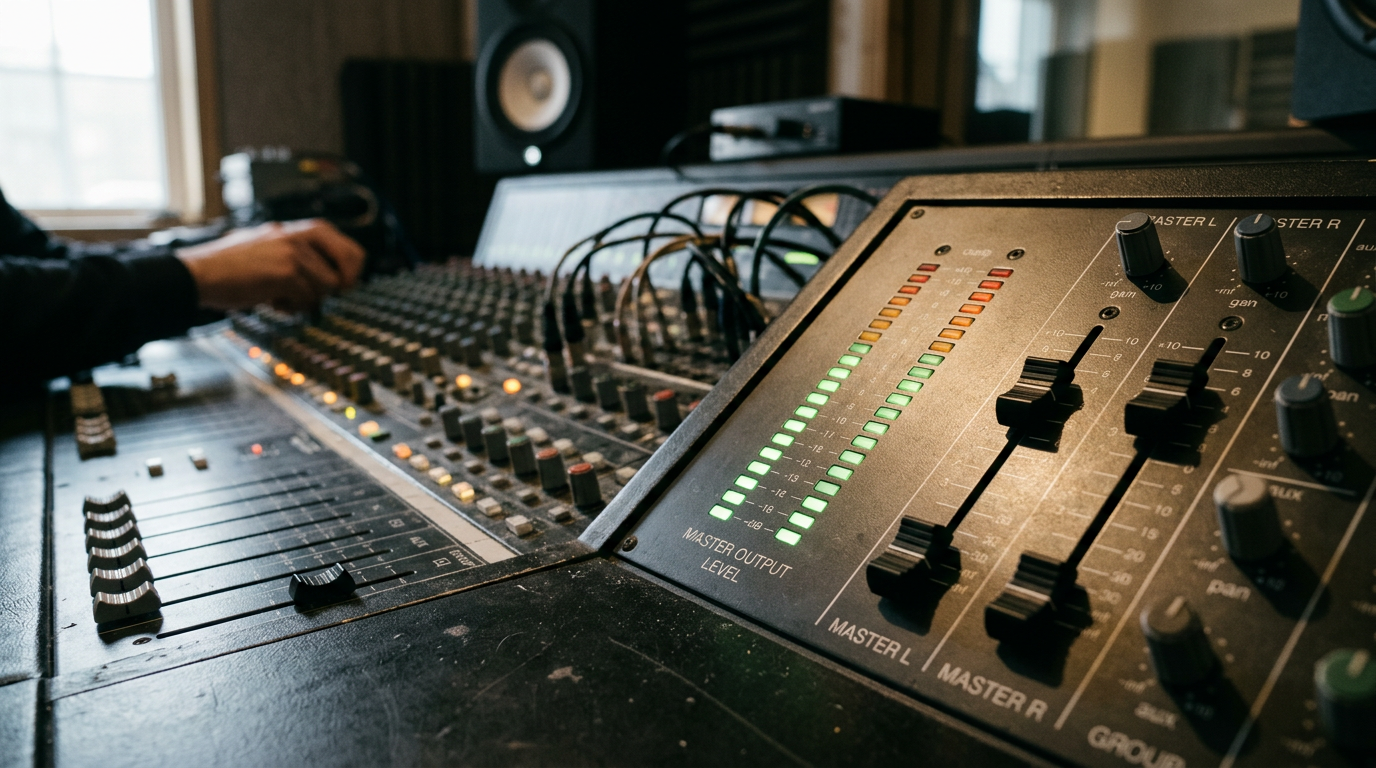
The signal chain is the path audio takes from the playback software to the physical speaker cone. Properly configuring this chain is called gain staging. A professional setup starts with a digital audio file, moves through a DJ controller’s digital-to-analogue converter (DAC), out through a hardware mixer, along balanced cables, and finally into the amplifiers housed within the active speakers. Every point where the audio passes from one component to another is an opportunity to introduce noise or distortion.
Understanding how to structure a complete guide to professional event hire for seamless occasions in 2026 relies heavily on technical rigour at the source. The signal leaving the controller must be strong enough to overcome the noise floor of the cables, but low enough to avoid clipping the input stage of the mixer. Balanced XLR cables are mandatory for this run. Unlike standard unbalanced RCA cables, balanced lines use a phase-inversion trick to actively cancel out electromagnetic interference picked up over long cable runs, ensuring the signal arrives at the speakers exactly as it left the mixer.
The mistake operators routinely make is pushing the channel gain on their software or hardware controller into the red, while keeping the volume on the active speakers turned down to a low setting. This sends a heavily distorted, square-wave signal into the speaker. The amplifier faithfully reproduces that distortion, risking catastrophic damage to the high-frequency tweeters. Gain staging must always start low at the source and be controlled primarily by the final amplification stage.
3. Position the subwoofers to eliminate bass nulls
Low-frequency sound waves behave entirely differently from high frequencies. While high frequencies are directional, bass frequencies below 100Hz are omnidirectional, radiating in a sphere from the speaker cabinet. When two subwoofers are placed on opposite sides of a standard mobile setup, the low-frequency waves from the left speaker inevitably crash into the waves from the right speaker in the centre of the room.
This physical interaction creates phase cancellation. Depending on where a guest is standing, the peaks of one sound wave will meet the troughs of another, completely cancelling the bass out in certain spots (nulls) and doubling it in others (the power alley). The result is a dance floor where the bass is overpowering in a straight line down the middle, but entirely absent near the edges.
Practical rule: Always cluster your subwoofers together in the centre of the setup or place them side-by-side on one flank to couple their output, completely eliminating phase cancellation and providing an automatic +3dB acoustic boost.
The critical mistake made in this step is separating subwoofers simply for visual symmetry. Many setups place a subwoofer directly under each top speaker on a pole, prioritising how the rig looks over how the room sounds. This guaranteed comb-filtering destroys the low-end consistency of the room and forces the operator to push the system harder to compensate for the dead zones, putting unnecessary thermal stress on the amplifiers.
4. Implement a robust power distribution plan
Audio equipment relies on rapid, massive draws of electrical current to produce transient peaks, such as the initial thump of a kick drum. If the power supply cannot deliver that current instantaneously, the amplifier cannot reproduce the sound accurately, resulting in a flat, lifeless audio output. Managing this power draw requires understanding the venue’s electrical infrastructure before the first flight case is opened.
The mechanics involve calculating the continuous and peak wattage of the entire sound and lighting rig, and ensuring it does not exceed the capacity of a standard UK 13-amp ring main. Professional setups segregate the audio equipment from the lighting equipment on entirely separate circuits. The mechanics of professional event management for large gatherings in 2026 dictate that entertainment power must never share a supply with catering hardware. Heavy elements like water boilers or hot plates cycle on and off aggressively, causing voltage sags that can force digital audio equipment to reboot mid-performance.
The most dangerous mistake made here is the daisy-chaining of multi-way extension leads. Plugging one four-way block into another four-way block increases the electrical resistance of the earth path, bypassing the safety mechanisms designed to trip the circuit breaker in the event of a fault. Furthermore, every piece of equipment must hold a current Portable Appliance Testing (PAT) certificate; failing to provide this often invalidates both the operator’s £10m Public Liability Insurance and the venue’s own operational license.
5. Build redundancy into the playback system
A single point of failure in a live event environment is an unacceptable risk. Laptops overheat, software crashes, and USB ports fail unexpectedly. Redundancy means having an entirely separate, independent pathway for audio to reach the speakers if the primary system fails, requiring zero diagnostic time to implement.
True redundancy mechanics require segregation at the hardware level. Having a backup playlist on the same laptop is not redundancy. If the laptop’s motherboard fails, the backup goes down with it. A professional configuration routes the primary laptop through a primary controller via USB, but routes a standalone tablet or secondary media player directly into a separate analogue channel on the hardware mixer. If the digital system freezes, the operator simply slides up the fader on the analogue channel, resulting in less than two seconds of dead air.
The mistake operators make is routing their backup device through an auxiliary input on the DJ controller itself. If the controller locks up or loses its USB handshake with the laptop, it often mutes all internal routing, taking the backup auxiliary channel down with it. The emergency audio source must always bypass the primary digital interface entirely.
Common Pitfalls & Troubleshooting
Audio setups involve interconnected analogue and digital systems, meaning failures often present identical symptoms despite having entirely different root causes. Accurately diagnosing these issues on the fly is what separates a professional operation from an amateur one.
Symptom: A loud, continuous low-frequency hum radiating from the speakers immediately after plugging in the laptop.
The Diagnosis: This is almost certainly a ground loop. It occurs when two pieces of equipment are plugged into different electrical sockets that have slightly different ground potentials, causing a 50Hz electrical current to flow along the shielding of the audio cables connecting them.
The Fix: Never remove the safety earth pin from a plug. Instead, insert a passive DI (Direct Injection) box with a ground-lift switch between the controller and the active speakers. Engaging the ground lift safely breaks the audio earth connection, instantly killing the hum.
Symptom: The system plays perfectly for the first hour, but abruptly drops in volume or shuts down completely during a bass-heavy track.
The Diagnosis: The amplifiers are entering thermal protection mode. This is the system defending itself. It is most often caused by pushing the system too hard while the rear amplifier plates are positioned tightly against a venue wall or suffocated by heavy draping, preventing the heat sinks from dissipating thermal energy.
The Fix: The true cause is usually a lack of headroom. The immediate fix is to physically pull the speakers away from the walls to allow airflow and dial back the low-frequency EQ. The long-term fix is bringing a larger PA system to the next event so the amplifiers do not have to run at their thermal limit.
Symptom: The music sounds harsh, distorted, and fatiguing, but the physical volume level in the room is surprisingly low.
The Diagnosis: You are experiencing digital clipping at the source. The active speakers are turned down too low, and the operator is pushing the DJ software’s master output into the red to compensate. A clipped digital signal chops off the peaks of the sound wave, turning it into a square wave which sounds inherently distorted regardless of the final volume.
The Fix: Pull the software master gain back down to unity (0dB, or just tickling the yellow LEDs). Then, walk over to the physical active speakers and turn their rear input dials up to achieve the desired room volume.
FAQ
How much physical space does a professional technical setup require?
A safe, reliable rig requires a minimum footprint of 3 metres by 2 metres. This provides adequate separation between the performance area and the speaker stands, allows for secure cable routing, and ensures amplifier heat sinks have sufficient airflow to prevent thermal shutdown.
Do venues mandate specific documentation for audio equipment?
Yes. Almost all professional venues require an up-to-date Portable Appliance Testing (PAT) certificate for every electrical item brought onto the premises, alongside a certificate proving a minimum of £10m Public Liability Insurance. Without these, the venue’s event manager is legally entitled to refuse entry.
Can a high-end sound system be operated outdoors?
It can, provided strict environmental protections are in place. Active speakers require IP-rated acoustic covers to protect the internal amplifiers from sudden rain, and the power supply must be routed through dedicated RCD (Residual Current Device) breakers independent of the venue’s indoor ring mains.
How long does it take to safely install a professional rig?
A rigorous installation, including acoustic mapping, safe cable management, and soundcheck phase, requires a minimum of 60 to 90 minutes. Rushing this process inevitably leads to poor cable runs, skipped redundancy checks, and unbalanced gain staging.